Installation using the standard extension folders
Starting in Firefox 73, it will no longer be possible to have an extension be automatically installed as part of another application install. See the Add-ons Blog for more information.
This method of add-on installation involves copying the add-on into one of the standard extension folders on the user's computer. Once copied, the next time Firefox launches the add-on will be installed. By default, the user will be asked to approve the installation, and if the user approves, the add-on will be installed and automatically loaded for subsequent launches. If the user has more than one Firefox profile, the approval and installation will occur on the next launch of each profile. For details on controlling whether the user is prompted to approve the installation, see Controlling automatic installation.
Rename your XPI file
To use this method, your XPI file must be named using the add-on or application ID, as set in Preparing your add-on. The signed add-on file you downloaded from AMO will be named something like borderify-1.0-an+fx.xpi (see Signing and distributing your add-on for more details), change this to, for example, borderify@example.com.xpi.
If you are developing an add-on for Firefox you can use an extension proxy file to install an add-on without copying the files over to the standard extensions folders.
Add the add-on XPI file to a standard extensions folder
In what follows {ec8030f7-c20a-464f-9b0e-13a3a9e97384} is the application ID of Firefox.
The standard installation of Firefox disables the automatic installation of add-ons from these locations (see Controlling automatic installation). As a result, the process for each of the methods described below is as follows:
-
Copy the renamed XPI file to the extensions folder for Windows, macOS, or Linux as appropriate. Note that, depending on the desktop OS and its settings, the user may need administrator permission to complete this action.
-
Close and restart Firefox.
-
Depending on the OS and version of Firefox one of the the following will happen:
-
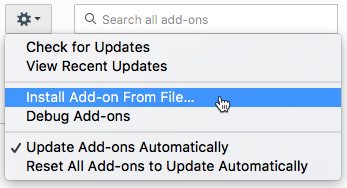
The install will happen silently, and the user will need to open add-on manager and enable the add-on:

-
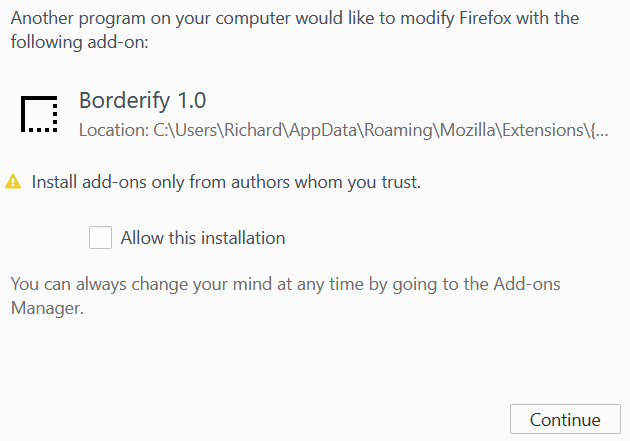
An interstitial message will be displayed:

-
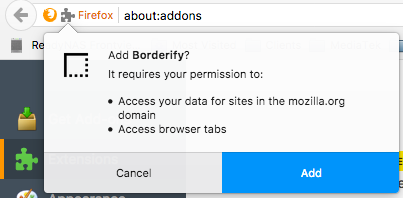
The add-on is now installed.
For more details on the interstitial and silent installs, see Controlling automatic installation.
To uninstall the add-on, close Firefox and remove the add-on from the location where it was added.
Windows
To install the add-on for a user of the computer, copy the XPI file to:
C:\Users\<user name>\AppData\Roaming\Mozilla\Extensions\{ec8030f7-c20a-464f-9b0e-13a3a9e97384}\
If this folder does not exist, create it. You can also identify the current user’s path with the %appdata% system variable.
macOS
To install an add-on for use by all Firefox profiles and all users, copy the XPI file to the global extension folder located in Library. If this folder doesn't exist, you will need to create it.
/Library/Application Support/Mozilla/Extensions/{ec8030f7-c20a-464f-9b0e-13a3a9e97384}/
To install an add-on for a specific user, copy the XPI file to the user's local Library:
~/Library/Application Support/Mozilla/Extensions/{ec8030f7-c20a-464f-9b0e-13a3a9e97384}/
Linux
To install an add-on for use by all users, copy the XPI file to:
/usr/lib/mozilla/extensions/{ec8030f7-c20a-464f-9b0e-13a3a9e97384}/
Or...
/usr/lib64/mozilla/extensions/{ec8030f7-c20a-464f-9b0e-13a3a9e97384}/
Or...
/usr/share/mozilla/extensions/{ec8030f7-c20a-464f-9b0e-13a3a9e97384}/
To install an add-on for a specific user, copy the XPI file to:
~/.mozilla/extensions/{ec8030f7-c20a-464f-9b0e-13a3a9e97384}/


